Zh GoogleMap ContactPlacemark: Difference between revisions
Jump to navigation
Jump to search
mNo edit summary |
mNo edit summary |
||
| Line 42: | Line 42: | ||
There are contact fields displayed (if filled): | |||
* Name | |||
* Position | |||
* Address | |||
* Telephone | |||
* Mobile | |||
* Fax | |||
Now let's talk about '''Show contact''' | |||
* '''No''' - there is no contact information will be displayed | |||
* '''Icons''' - prompts is icons | |||
* '''Text''' - text prompts | |||
* '''No prompts''' - there are no prompts before data | |||
Set '''Show contact''' to '''Text''', and look at map | |||
[[File:GM-Tutorial-ContactPlacemark-AssignContact-ResultText.JPG]] | |||
Latest revision as of 12:48, 23 December 2011
Creating Placemark with Contact
In previous tutorial we created simple placemark. Now we will create placemark with contact information.
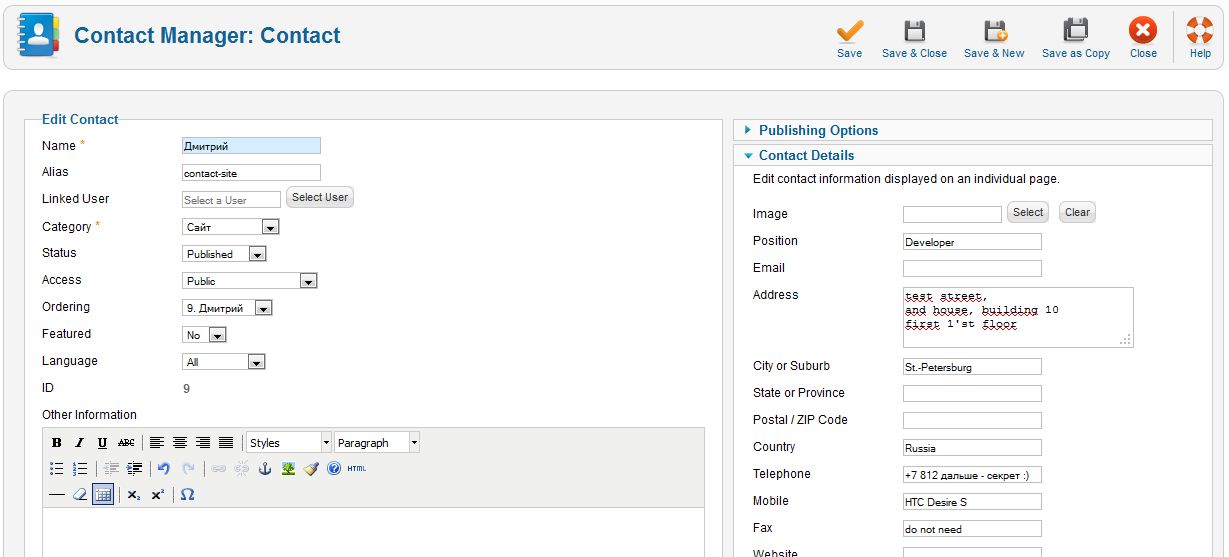
Let's create contact.
Menu
- Components
- Contacts
- Contacts
- Contacts
Fill contact and contact details fields.
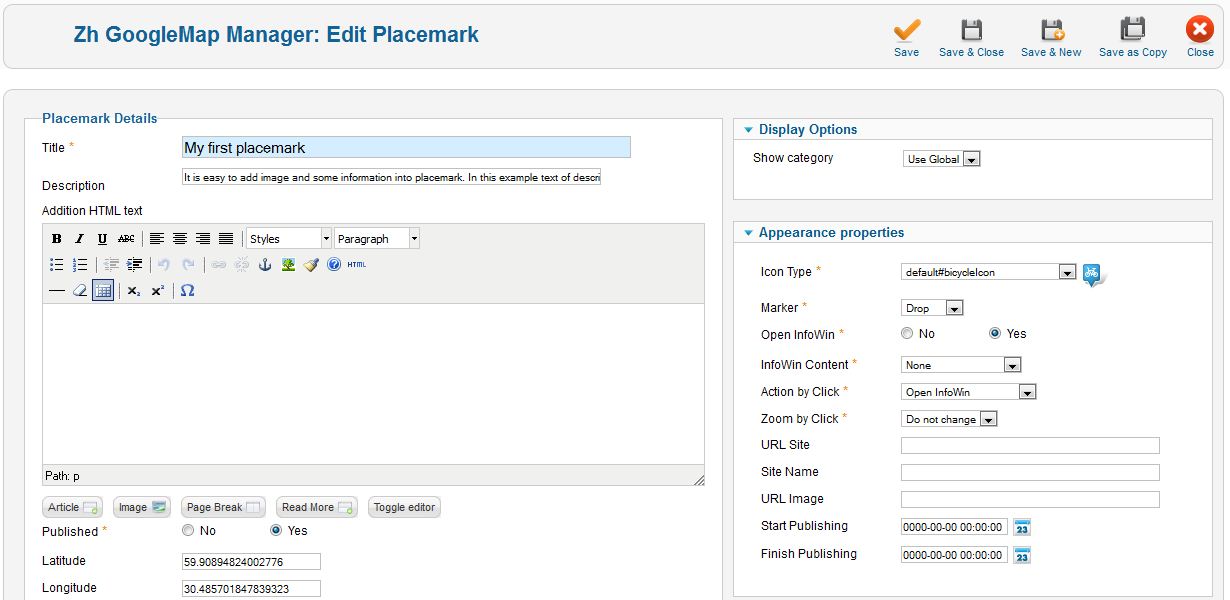
Go to Placemarks tab and open your placemark.
Let's clear addition HTML text field and image info fields.
Now assosiate contact with placemark on slider Integration
- select your contact
- select Icon view of data (I'll explain it later)
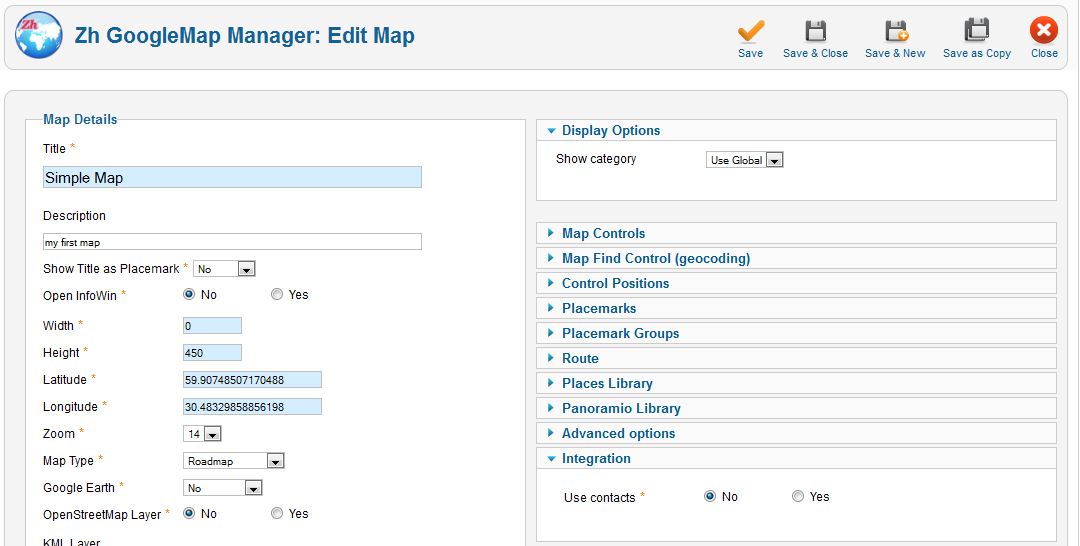
And we need to "activate" contact feature - enable it in map details.
Go to Maps tab and open your map. There is Integration slider too.
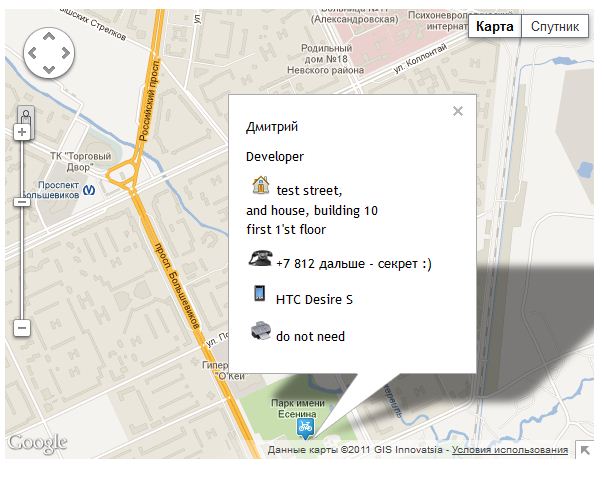
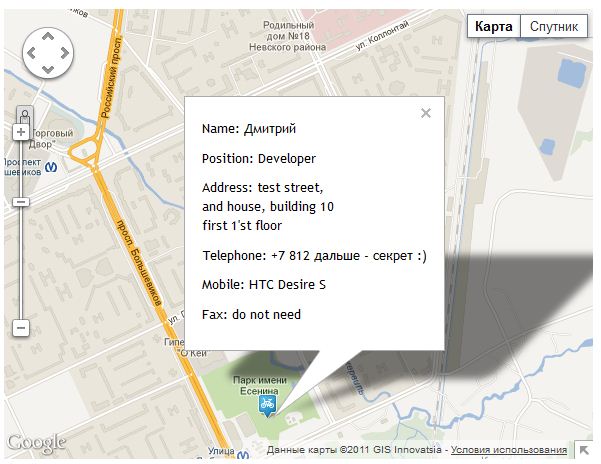
And our map looks like
There are contact fields displayed (if filled):
- Name
- Position
- Address
- Telephone
- Mobile
- Fax
Now let's talk about Show contact
- No - there is no contact information will be displayed
- Icons - prompts is icons
- Text - text prompts
- No prompts - there are no prompts before data
Set Show contact to Text, and look at map
