Template:Zh GoogleMap Description Placemark
Creating Placemark
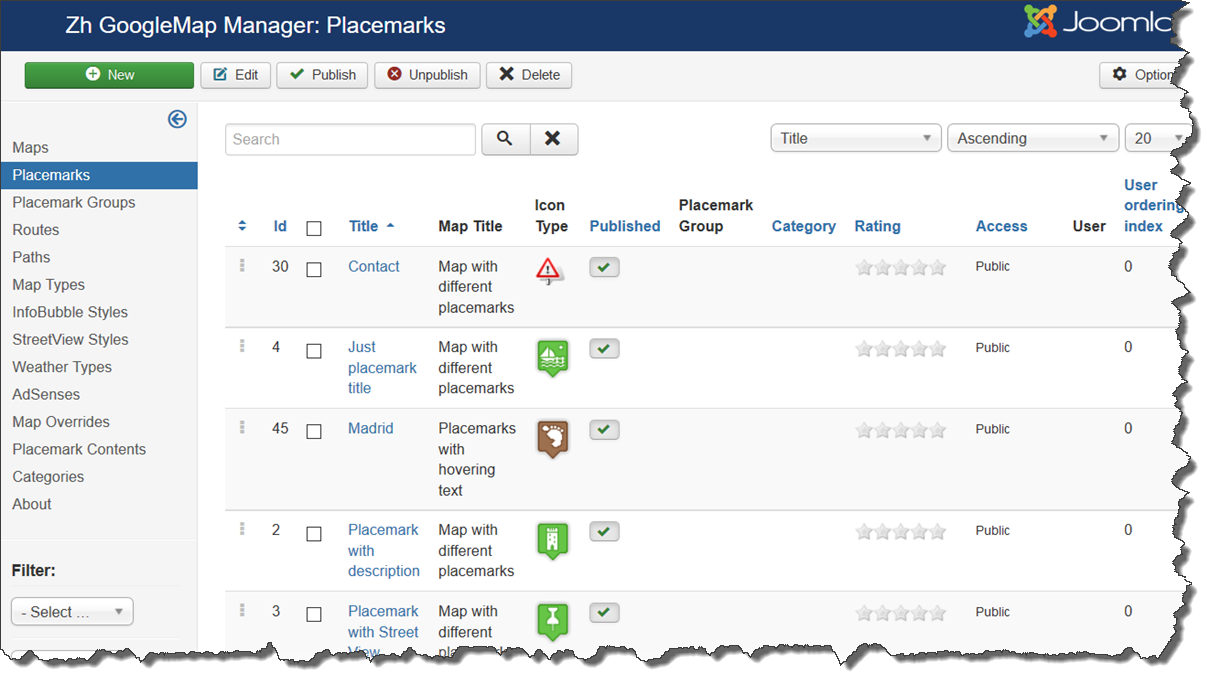
We turn to the tab "Placemarks".
Enter the number of markers bound to a specific map.
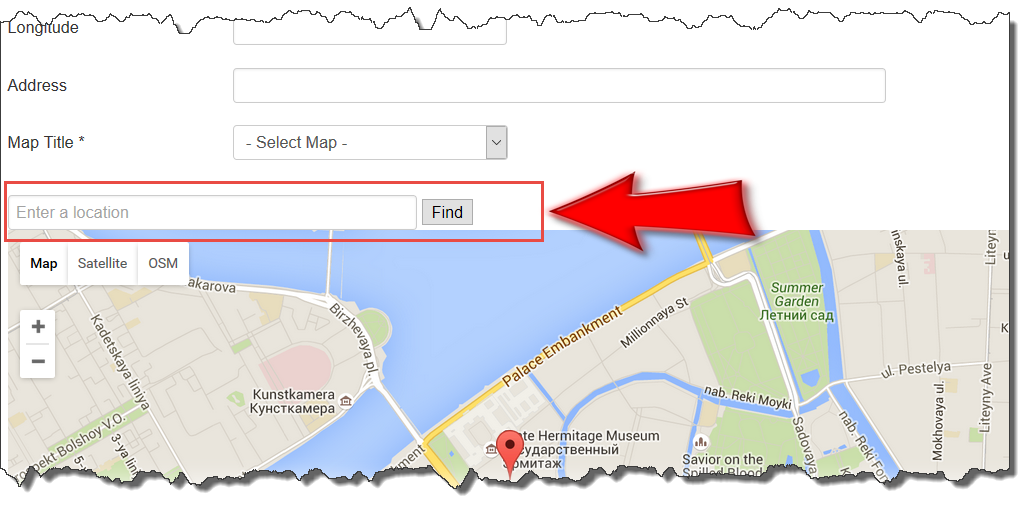
Coordinates it is convenient to choose by dragging the marker (the value is automatically substituted in the form fields ) or by clicking the mouse on the desired location.
On the other hand you can use Autocomplete field above map to find your place.
Or enter text address into Autocomplete field and press Find button to find place by geocoding.
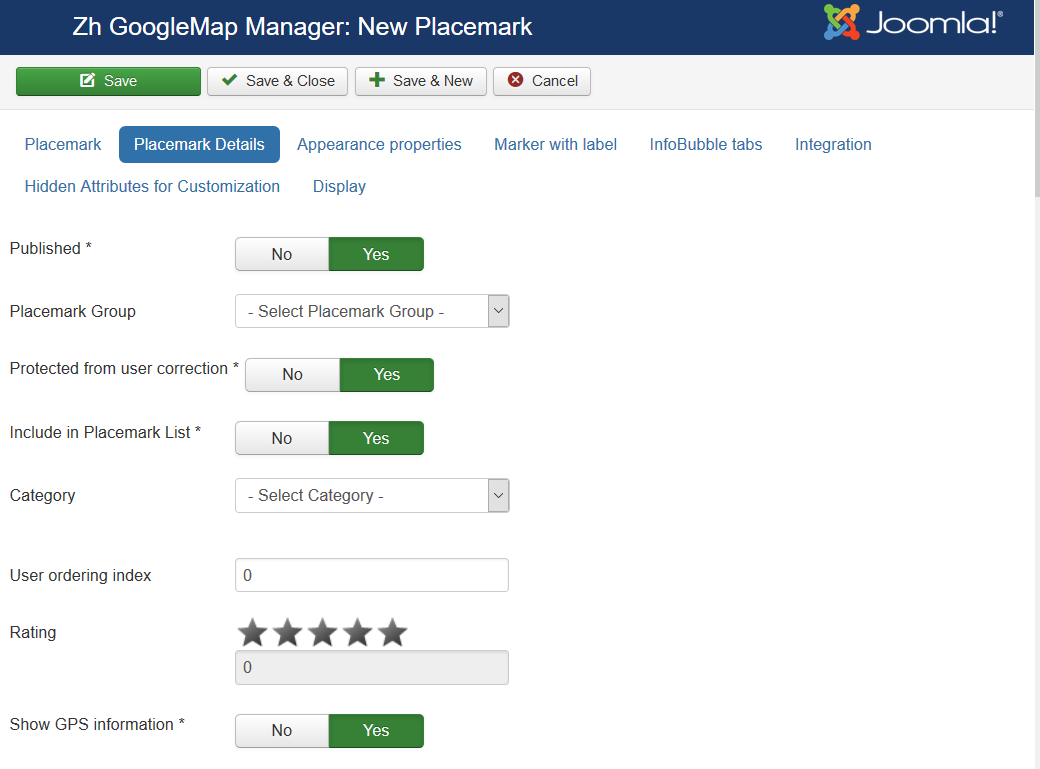
Placemark properties
| Title | Placemark Title |
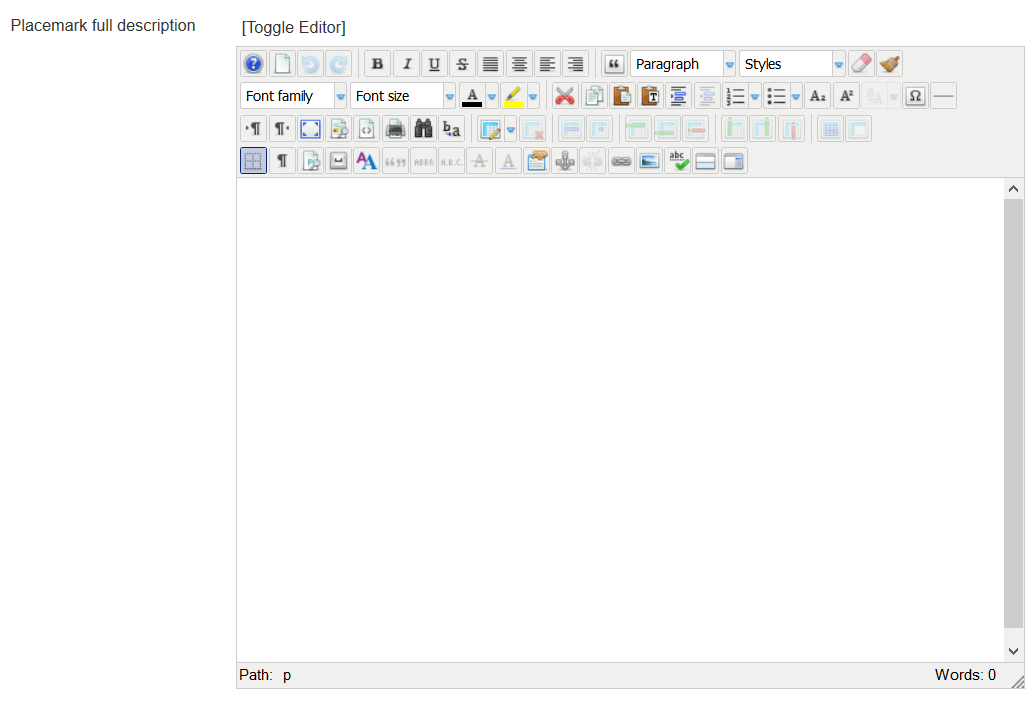
| Description | Description |
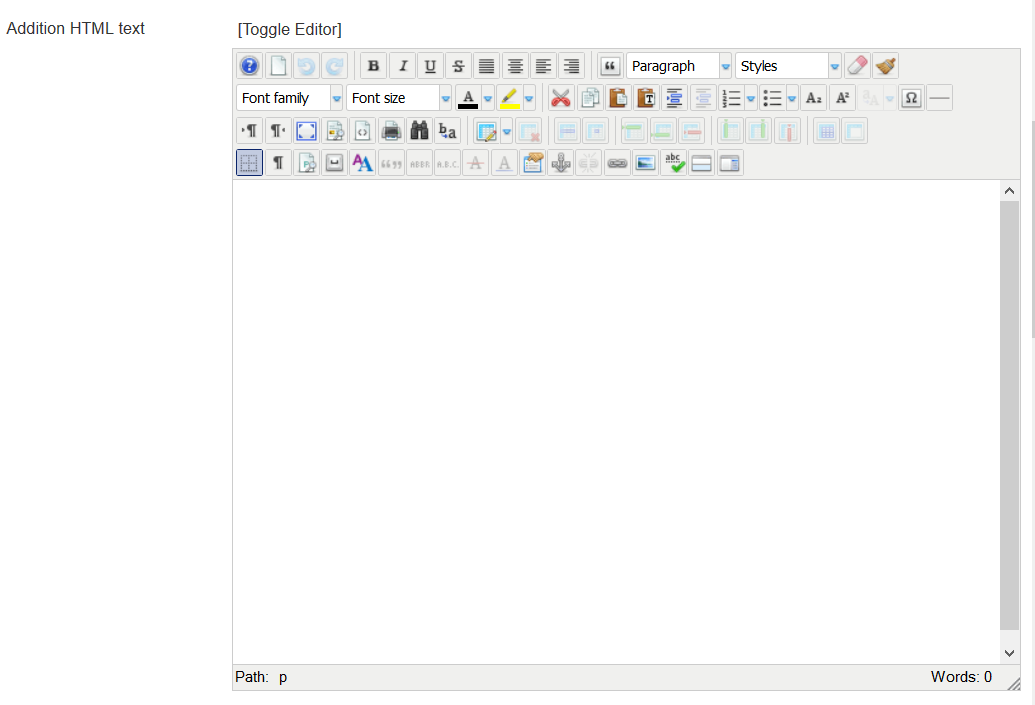
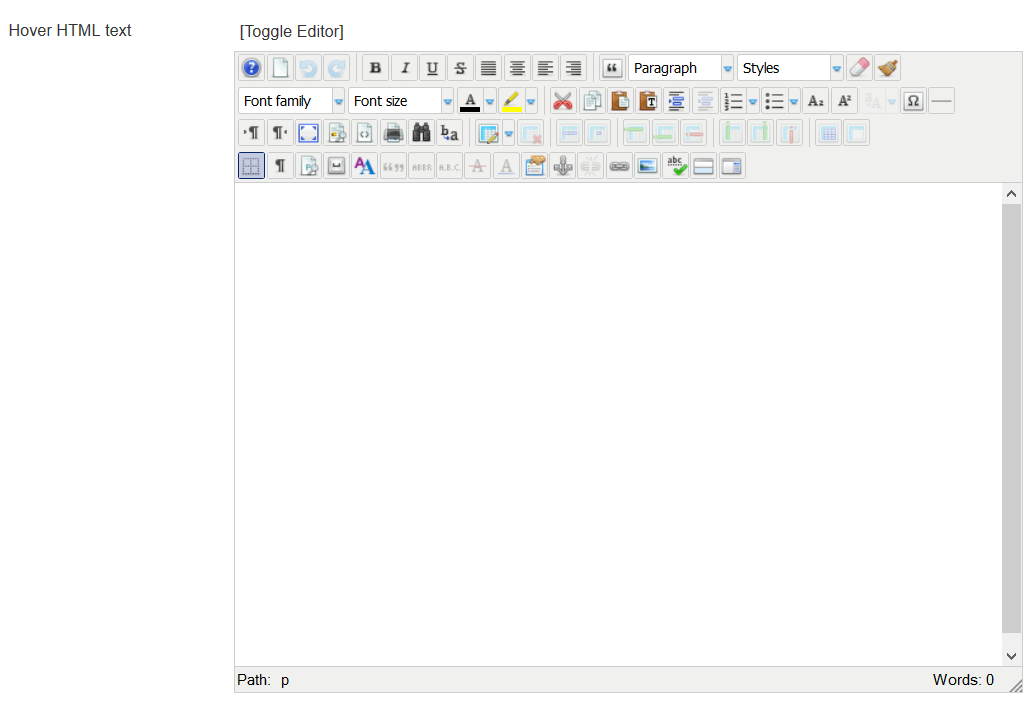
| Addition HTML text | HTML text, that will be included in placemark Be careful, if you enter email address, the other Joomla! plugin it changed, and there will be an error and map will not be shown. In this way, you can copy code, that produced by plugin and paste into HTML text, and in this case plugin will not change it. |
| Published | Published |
| Latitude | Latitude |
| Longitude | Longitude |
| Address | Text address of your placemark. You can load your data into this field, if you don't have lat/lng data. In this case address will be automatically geocoded and markers are displayed. And in backend marker will be shown too. But if you move marker (change position by dragging or clicking somewhere else), new positions will be stored as lat/lng. Displaying markers by lat/lng is more quick because there is no need time for geocoding |
| Map Title | Title of the map, where marker would be displayed |
| Placemark Group | Placemark Group |
| Protected from user correction | Protected placemark from user correction, when you activate creating users placemark |
| Category | The category that this placemark is assigned to |
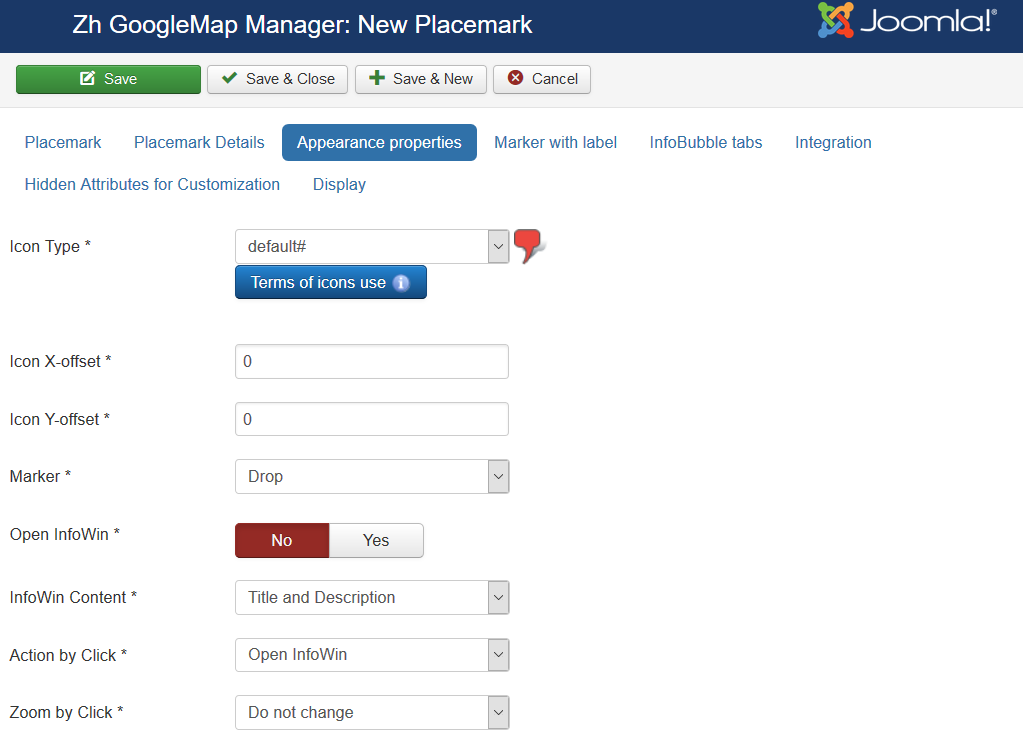
Appearance properties
| Icon Type | Icon Type |
| Marker | Marker Type
|
| Open InfoWin | Execute action which described in Action by Click and Zoom by Click |
| InfoWin Content | Content of InfoWin
|
| Action by Click | Action by Click on this placemark
|
| Zoom by Click | Zoom by Click on this placemark You can change zoom when you click on marker
|
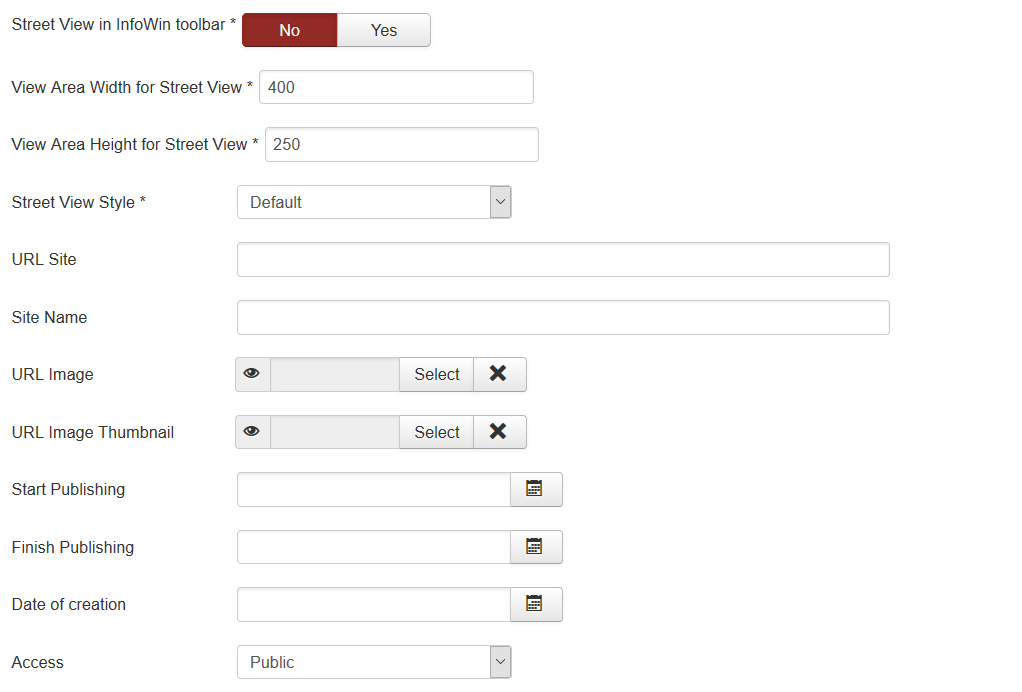
| Street View in InfoWin | Enable ability in infowin show button to show Street View |
| View Area Width for Street View | View Area Width for div section in infowin |
| View Area Height for Street View | View Area Height for div section in infowin |
| Street View Style | Additional Street View properties, which would be applied. This properties you can create on separate component tab |
| URL Site | Site URL to display in placemark |
| Site Name | Site Name to display instead of URL |
| URL Image | Image URL to display in placemark |
| URL Image Thumbnail | Image URL to display in placemark list |
| Start Publishing | Placemark start publishing date |
| Finish Publishing | Placemark finish publishing date |
| Infographics Type | Dynamic Icon Type Example: chst=d_fnote&chld=thought|1|0088FF|h|Why+am+I+here? |
| Infographics Icon width | Dynamic Icon width |
| Infographics Icon height | Dynamic Icon height |
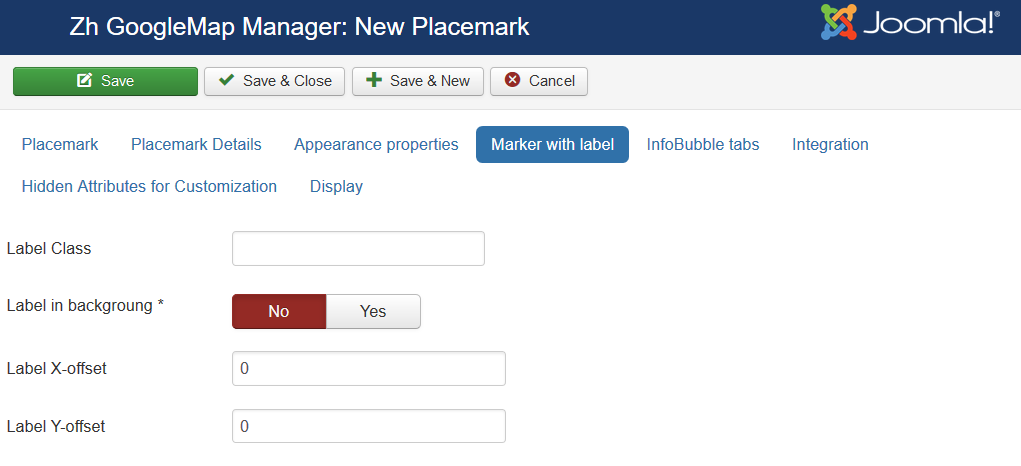
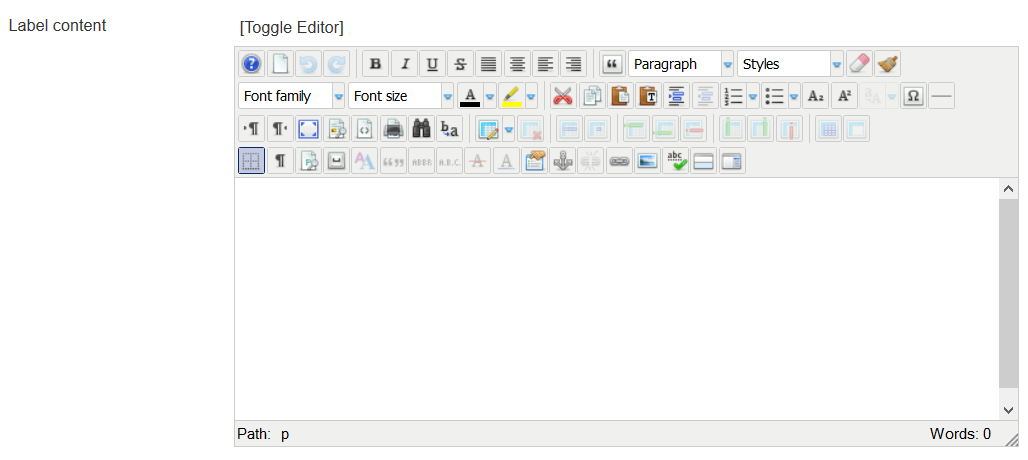
Marker with Label
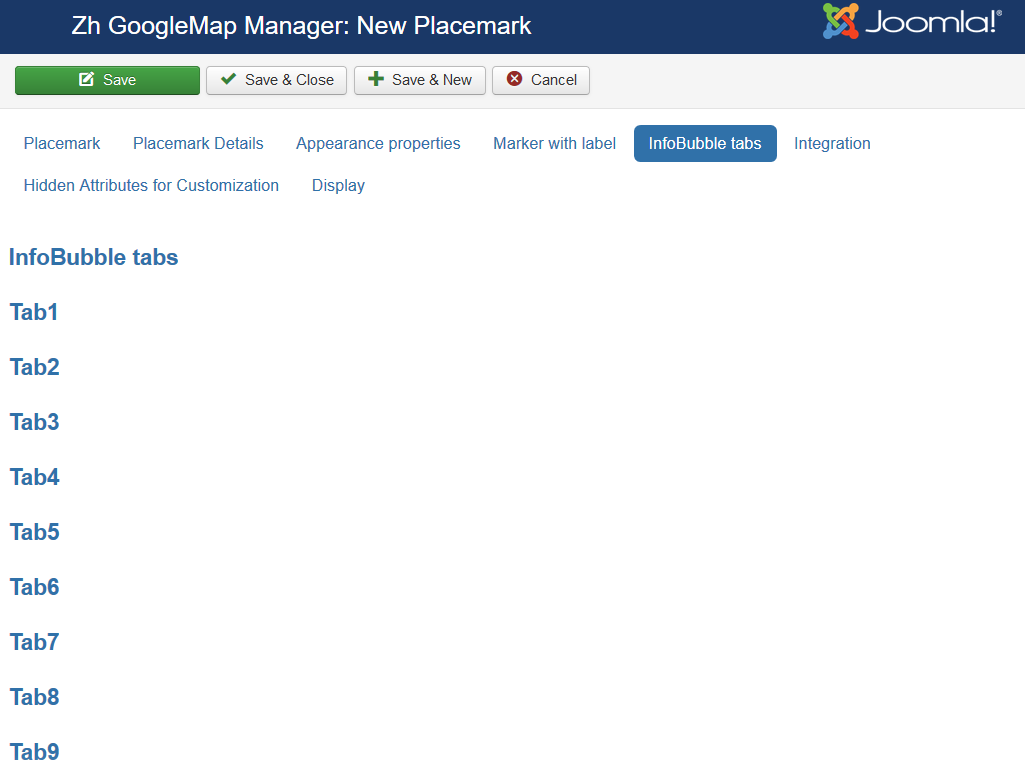
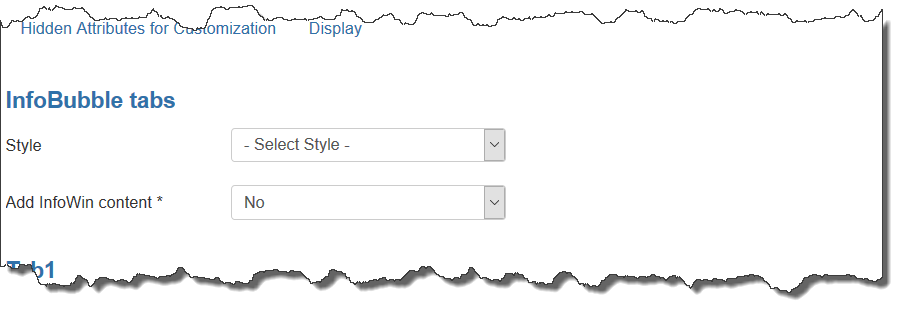
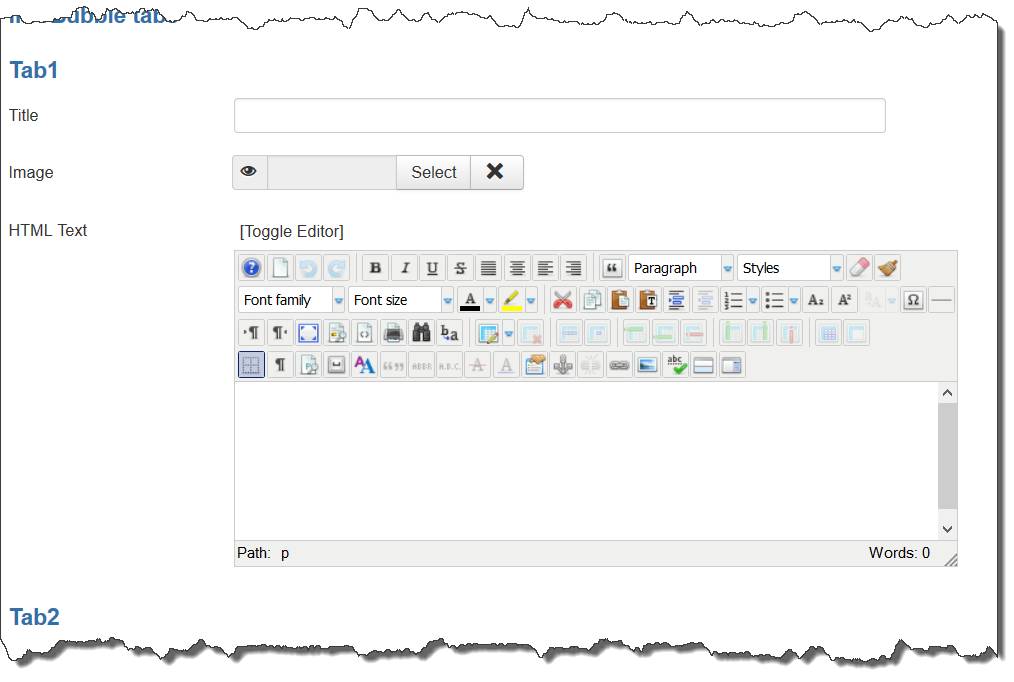
InfoBubble Tabs
About InfoBubble see InfoBubble example
It is not created by component, there is only using this code. If it works not correctly - check in example, and if there not works - you should ask in google maps forum (component only calls JavaScript code)
| Style | Style for InfoBubble |
| Title | Tab Title |
| HTML Text | Tab text |
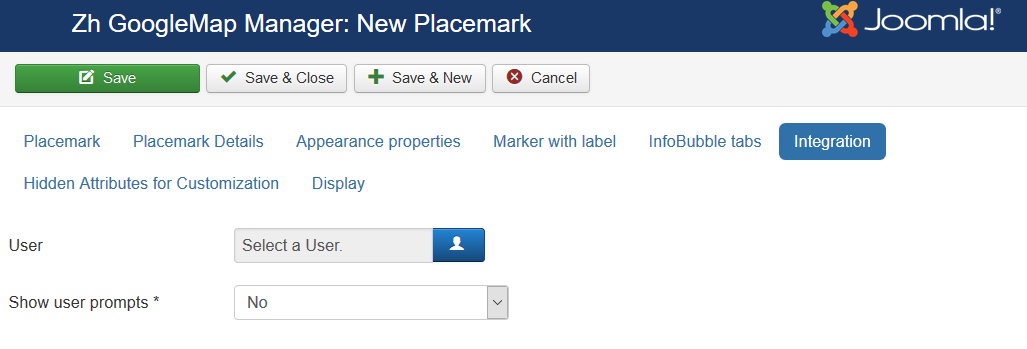
Integration
| Contact | Contact which associate with placemark |
| Show contact prompts | Type of view contact information
|
| User | User which associate with placemark |
| Show user prompts | Type of view user information
|
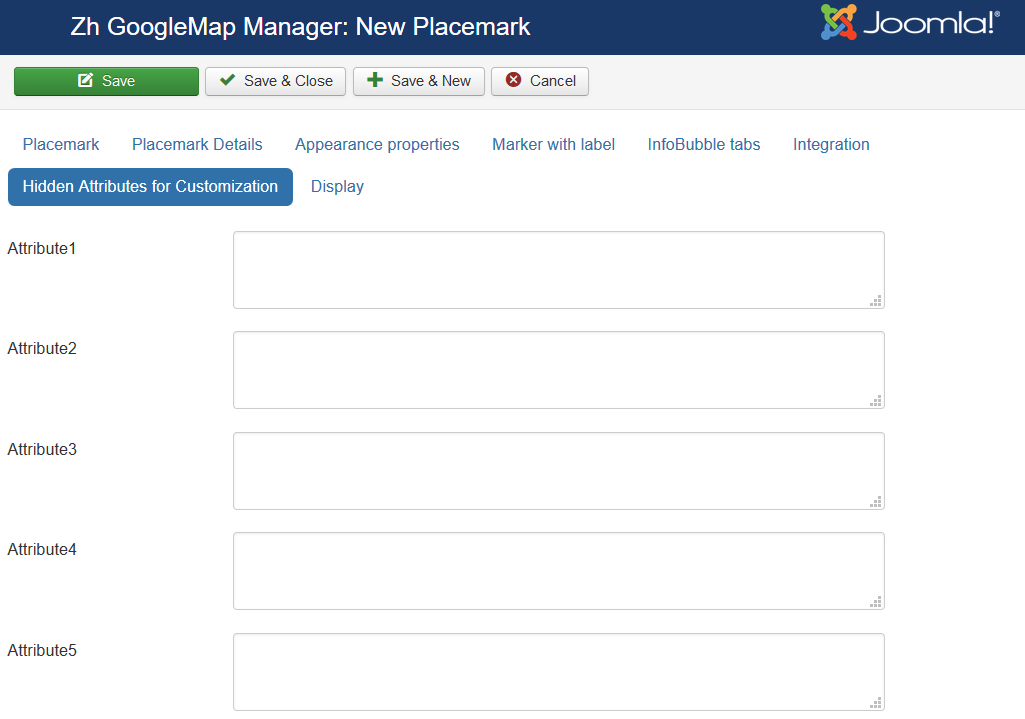
Hidden Attributes for Customization
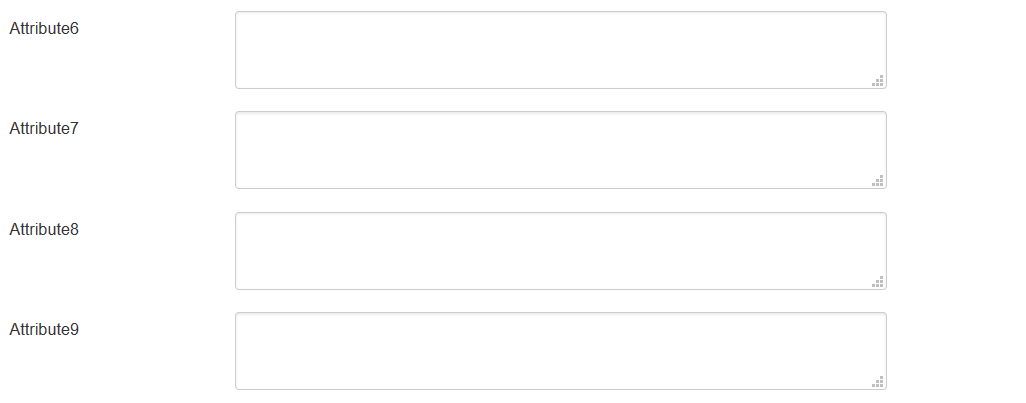
It is for you own customization. You can enter any values in this fields, and use what you want in you code. You can rename prompt in language file
For your convenience you can also change the labels of the fields in file
/administrator/language/en-GB/en-GB.com_zhgooglemap.ini
lines
COM_ZHGOOGLEMAP_MAPMARKER_DETAIL_ATTRIBUTE1_LABEL

COM_ZHGOOGLEMAP_MAPMARKER_DETAIL_ATTRIBUTE2_LABEL

…

COM_ZHGOOGLEMAP_MAPMARKER_DETAIL_ATTRIBUTE9_LABEL
For example, you can enter some data into this fields.
After that will change component to display this data.
Go to file, that output information on site
com_zhgooglemap\site\views\zhgooglemap\tmpl\default.php
And add some code into section, which output placemark information.
This section you can find by words
	// Markers
	if (isset($this->markers) && !empty($this->markers))
	{

            foreach ($this->markers as $key => $currentmarker)
            {
There are two place, where you have to change
1 - placemarks, defined by latitude and longitude
	if ($currentmarker->latitude != "" && $currentmarker->longitude != "")
	{
2 - placemarks, defined by text address (using geocoding) - else of this if clause
In table columns have names
attribute1

attribute2
...

attribute9
And in this section you can operate with its by access, for example
$currentmarker->attribute1
The same way you can change plugin to output data, but in plugin there is only one php-file, and you easy find it.
You can use this fields, for example, for integration with other systems or etc.
Placemark Customization
Copy your marker images (format PNG) in the directory
/administrator/components/com_zhgooglemap/assets/icons/
Component will automatically pick up the picture when choosing the type of marker.
The only requirement - the file name use English letters and can't contain any special character; the file extension have to be a .png ie in lower case, because names of images stored in a database without the extension, and it is appended in the output.
Placemark Grouping
The marker may be included in one group, for this to specify a marker belonging to the group. If the field of markers grouping is set (field value Placemark Group Control is different from No), then starts an additional feature: a list of active groups (the location is determined by this same field, with the first four (left, top, right, bottom) correspond to the table form of representation, while the two latter (Group-Map, Map-Group) - based on the div, and you have the opportunity to do anything with them.
The map also has a drop-down list Placemark Group CSS - which implements the following functionality:
- the first two styles - predefined
- the third - you can override it in your css-file template
- while in three cases, just have three different names of objects, respectively, we can change the styles they like.
The following names
for the div-tag ID takes the value
- GMapsMenu-advanced
- GMapsMenu-simple
- GMapsMenu-external
for ul-tag
- zhgm-menu-advanced
- zhgm-menu-simple
- zhgm-menu-external
Accordingly, styles, prescribes for them. Field Show Placemark Group Icon is used to display icons in the list of groups.
